


Now available from Amazon here
Also available for Nook
It's been two years since FLASH IN THE DARK and many readers had given up on ever finding out what happened to Aggie, Grady, Flash and friends. But good news: they're back! FLASH OF FIRE takes place in the late summer following the events of FLASH IN THE DARK and before the events of THE GOOD SHEPHERD. It may sound confusing, but don't worry-- it's all self-explanatory once you start reading.
Many people have asked why I chose to release THE GOOD SHEPHERD before FLASH OF FIRE. The answer is fairly simple. With three ongoing mystery series, I knew it would be a long time between books for readers of the Dogleg Island Mysteries. I didn't want readers to think I'd abandoned them, so I released a Christmas anthology of short stories from each series to tide readers over until the next full-length novel. It seems to have worked well, and I may do it again from time to time.
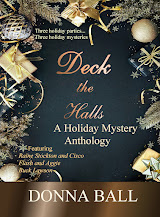
In fact, once you finish FLASH OF FIRE, you may want to get in the holiday mood again with THE GOOD SHEPHERD. It's available for Kindle for $2.99, or you can read the entire anthology, DECK THE HALLS: A HOLIDAY MYSTERY ANTHOLOGY in paperback or e-book.